Focused editing

Use a video trimmer to keep the moment that matters

A video trimmer helps you cut video down to a chosen start and end. Use this guide to plan the trim, check what remains, and recognize when the job needs more than a simple cut.

Free to start · no signup
Cutvideo landing visual

Keep the useful moment, not the surrounding wait

Trimming is most useful when the footage already contains the scene you want and the main task is deciding where it begins and ends.

Travel storyteller

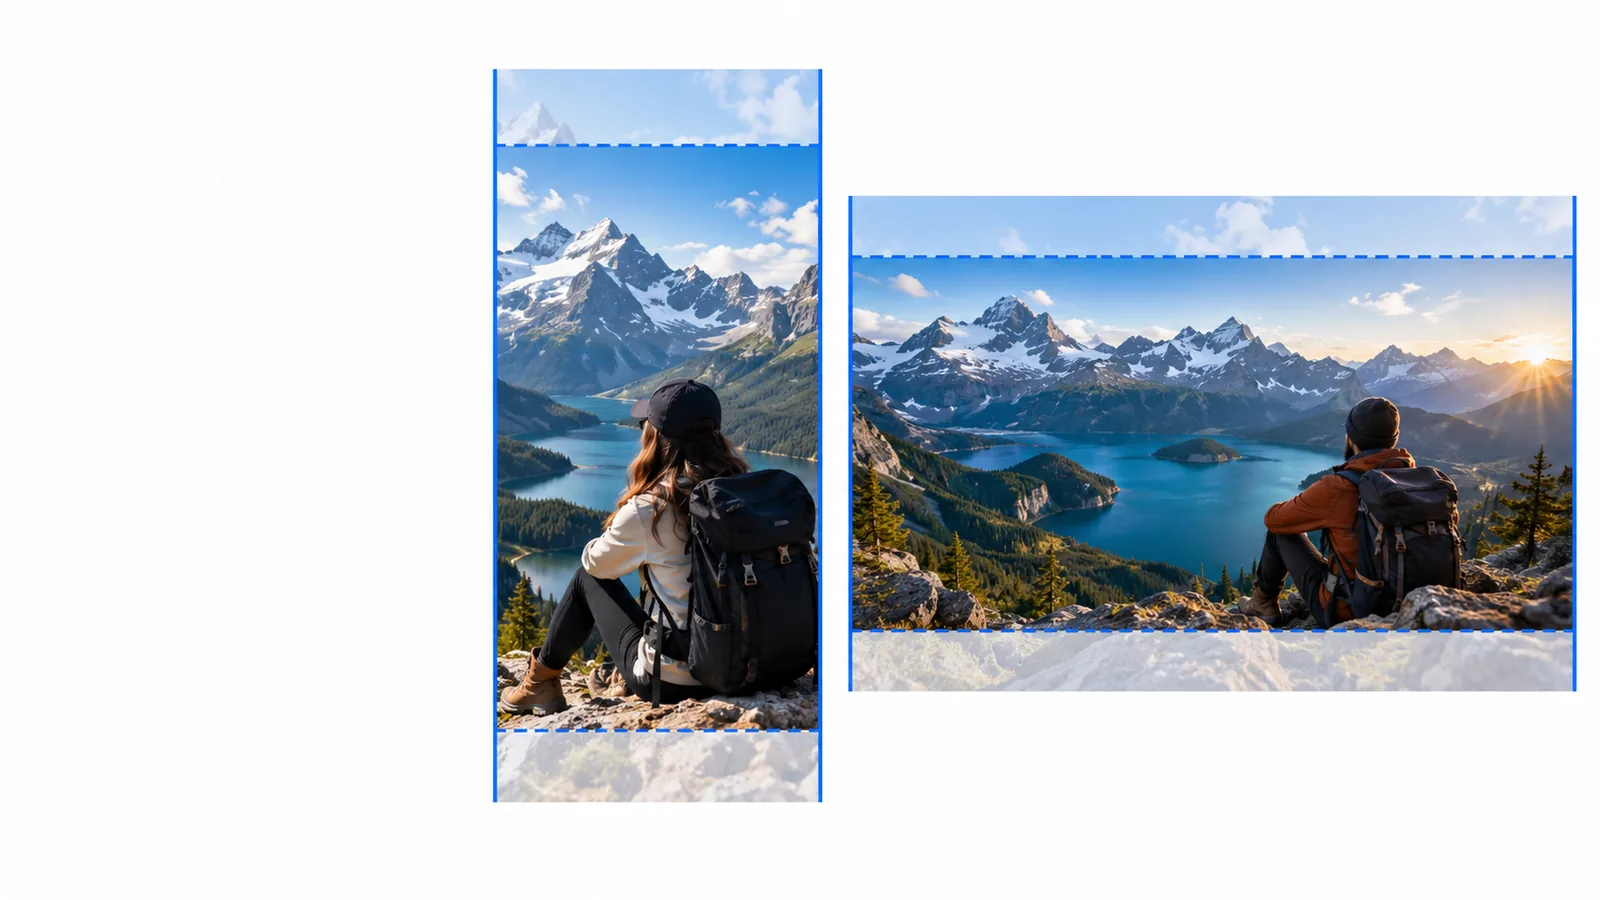
A long recording includes several seconds of camera setup before the view appears.

Keep the view and discard the setup. If the story needs titles or several scenes, a cut video editor is a better fit for assembling them.

cut video editor

Recipe creator

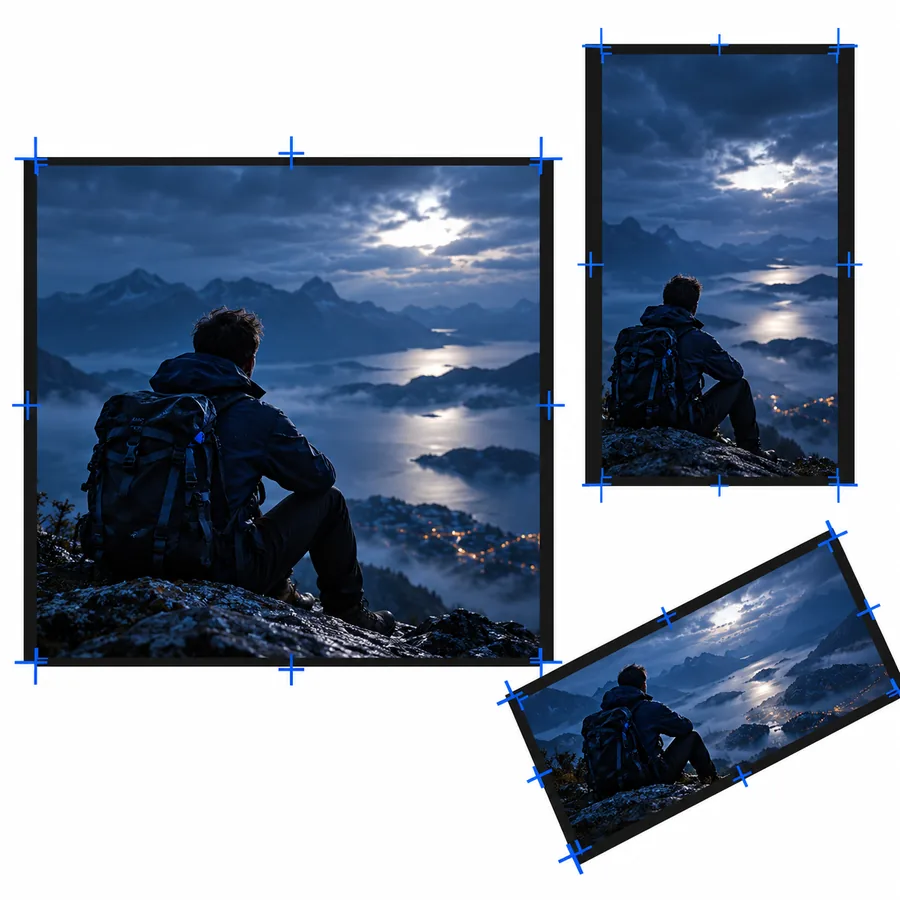
One continuous shot captures the finished dish, but the camera keeps rolling afterward.

End the clip after the reveal. For combining preparation and serving shots, a cut video editor offers a broader editing approach.

cut video editor

Event organizer

A recording has a clear applause moment between a long introduction and the next activity.

Select that moment as a standalone clip. To arrange highlights into a sequence, consider a cut video editor instead.

cut video editor

Three decisions behind a cleaner trim

Cutvideo feature visual for choosing the beginning of a clip

1

Find the first meaningful frame

Watch the beginning with sound as well as picture. Start just before the action or spoken phrase so the result has context, then cut video setup time that serves no purpose.

  • Keep a brief lead-in when an action would otherwise feel abrupt.
  • Check that the first spoken word is intact.
Cutvideo feature visual for choosing the end of a clip

2

Choose an ending that feels complete

Stop after the action resolves, rather than at an arbitrary duration. A clean endpoint lets a short clip stand alone without suggesting that the important part is missing.

  • Leave room for a final gesture or reaction.
  • Listen for speech or music cut off mid-phrase.
Cutvideo feature visual accompanying review of a selected clip

3

Review the selected span

Before relying on an export, play the selection from its new beginning through its new end. A video trimmer is a focused way to shorten footage, not a substitute for checking the finished clip.

  • Check both boundary frames.
  • Confirm that the remaining footage tells the intended story.

Step by step: plan a trim

  1. 1

    Pick the moment

    Watch the source and identify the single continuous passage worth keeping. Note whether your aim is to remove a slow opening, a trailing ending, or both.

  2. 2

    Set both boundaries

    Place the start before the essential action and the end after it resolves. Adjust each boundary in small increments if a word, movement, or reaction gets clipped.

  3. 3

    Review the result

    Play the proposed selection all the way through. If an unwanted section remains in the middle, switch from a simple trim to an editing workflow that can remove internal footage.

Choose boundaries for the way people will watch

Get to the point

For an informal update, cut video pauses before the message starts and after it finishes. Preserve enough context that someone seeing only this clip understands what happened.

  • Check the first complete sentence.
  • End after the message, not during it.

Show the action and its result

A demonstration needs more than its most dramatic frame. Begin before the action starts and leave the result visible long enough to register.

  • Include the setup needed to understand the action.
  • Keep the visible outcome.

Leave room for the payoff

A reaction can lose its meaning if trimmed too tightly. Keep a short lead-in and the full response, then remove footage that follows without adding context.

  • Retain the cue that prompts the reaction.
  • Avoid ending before the response finishes.

Trimming and splitting solve different problems

1

Main goal

Trim a continuous clip

Keep one continuous span.

Split and edit a clip

Change what happens within a sequence.

2

Opening footage

Trim a continuous clip

Remove footage before the chosen start.

Split and edit a clip

Remove or rearrange opening footage.

3

Ending footage

Trim a continuous clip

Remove footage after the chosen end.

Split and edit a clip

Remove or rearrange ending footage.

4

Unwanted middle

Trim a continuous clip

Cannot remove it while keeping both sides in one continuous trim.

Split and edit a clip

Split around it and join the remaining parts.

5

Multiple highlights

Trim a continuous clip

Plan separate selections.

Split and edit a clip

Arrange selected sections into a sequence.

6

Best starting point

Trim a continuous clip

The scene is already present and needs shorter boundaries.

Split and edit a clip

The story needs cuts within the footage.

Limits and edges to check before you cut

  • A trim cannot remove only the middle

    Keeping both ends while deleting a mistake between them requires more than start and end boundaries.

    WorkaroundUse a workflow that splits the clip around the mistake and joins the parts you want.

  • Shorter is not automatically clearer

    A tight selection may remove the cue that explains an action or cut off the last word.

    WorkaroundWatch the proposed clip without the source footage nearby and restore any context it needs.

  • Output behavior depends on the tool

    This guide does not establish supported file sizes, formats, export quality, or processing limits for the destination tool.

    WorkaroundCheck the destination’s current options and review the exported file before sharing it.

Take your clip from plan to action

Ready to work with your footage?

Decide what to keep, then explore the destination tool and check its available editing options. A deliberate start, end, and final review will help you cut video without losing the moment you meant to show.

Explore video editing
  • Choose a clear start.
  • End after the moment resolves.
  • Review before sharing.

Video trimmer FAQ

It selects a start and end point so you can keep a shorter, continuous part of a recording. It is most useful when the footage between those points can remain as it is.

Begin just before the first action, sound, or line the viewer needs. Play from that point to make sure the clip does not open mid-word or without context.

Not if you also need to keep the footage on both sides as one sequence. That calls for splitting around the unwanted part and assembling what remains.

The result depends on how the tool processes and exports the file; trimming alone does not guarantee unchanged quality. Check the available export settings and inspect the saved clip.

Open video tool
Open video tool