
Editing guide

Is a cut video editor right for your footage?

A cut video editor is useful when keeping the right moments takes more than setting one start and end point. Cutvideo helps you think through the cuts you need before you move into an editing tool.

Cutvideo landing visual for planning a video edit

This entry point vs the general one

The choice is about the shape of the finished video: one continuous excerpt or several decisions about what stays.

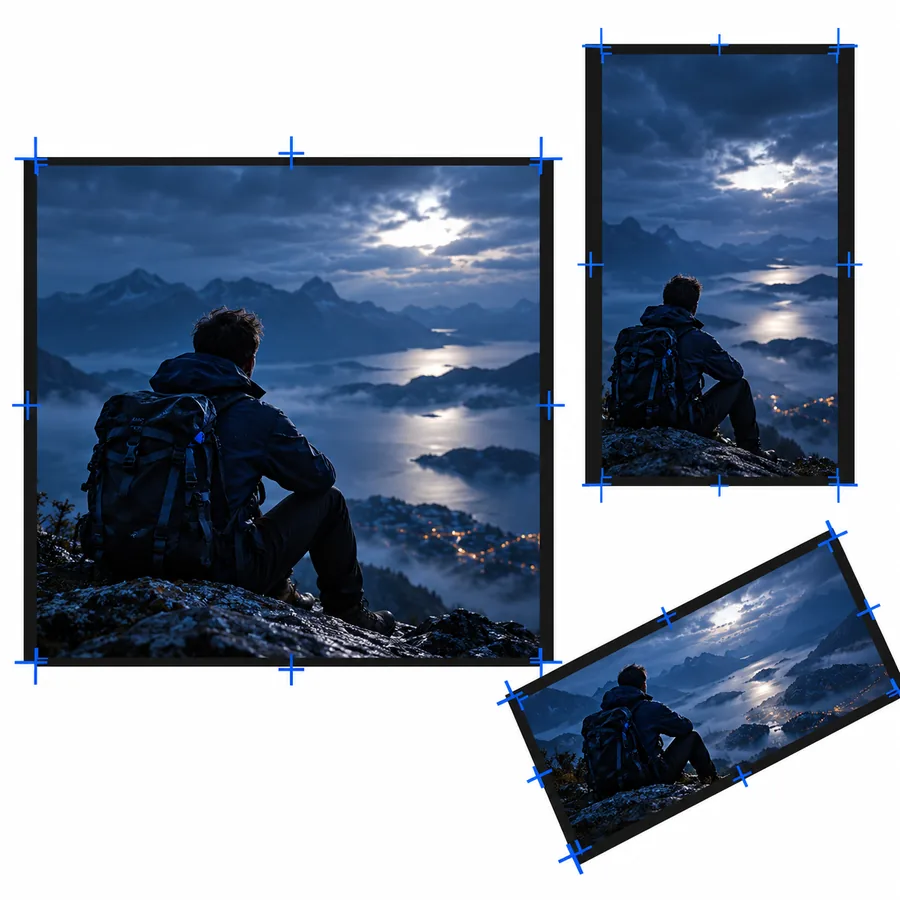
Video cutting visual used to illustrate a single continuous selection

1

Choose a trim for one continuous moment

A general cutting task often has a single beginning and ending. If the useful footage is uninterrupted, mark those two boundaries and check that neither cuts off an important word or action. You do not need a broader editing plan just to shorten a long introduction.

  • Input: one longer recording
  • Decision: where the excerpt begins and ends
  • Result to check: one continuous sequence
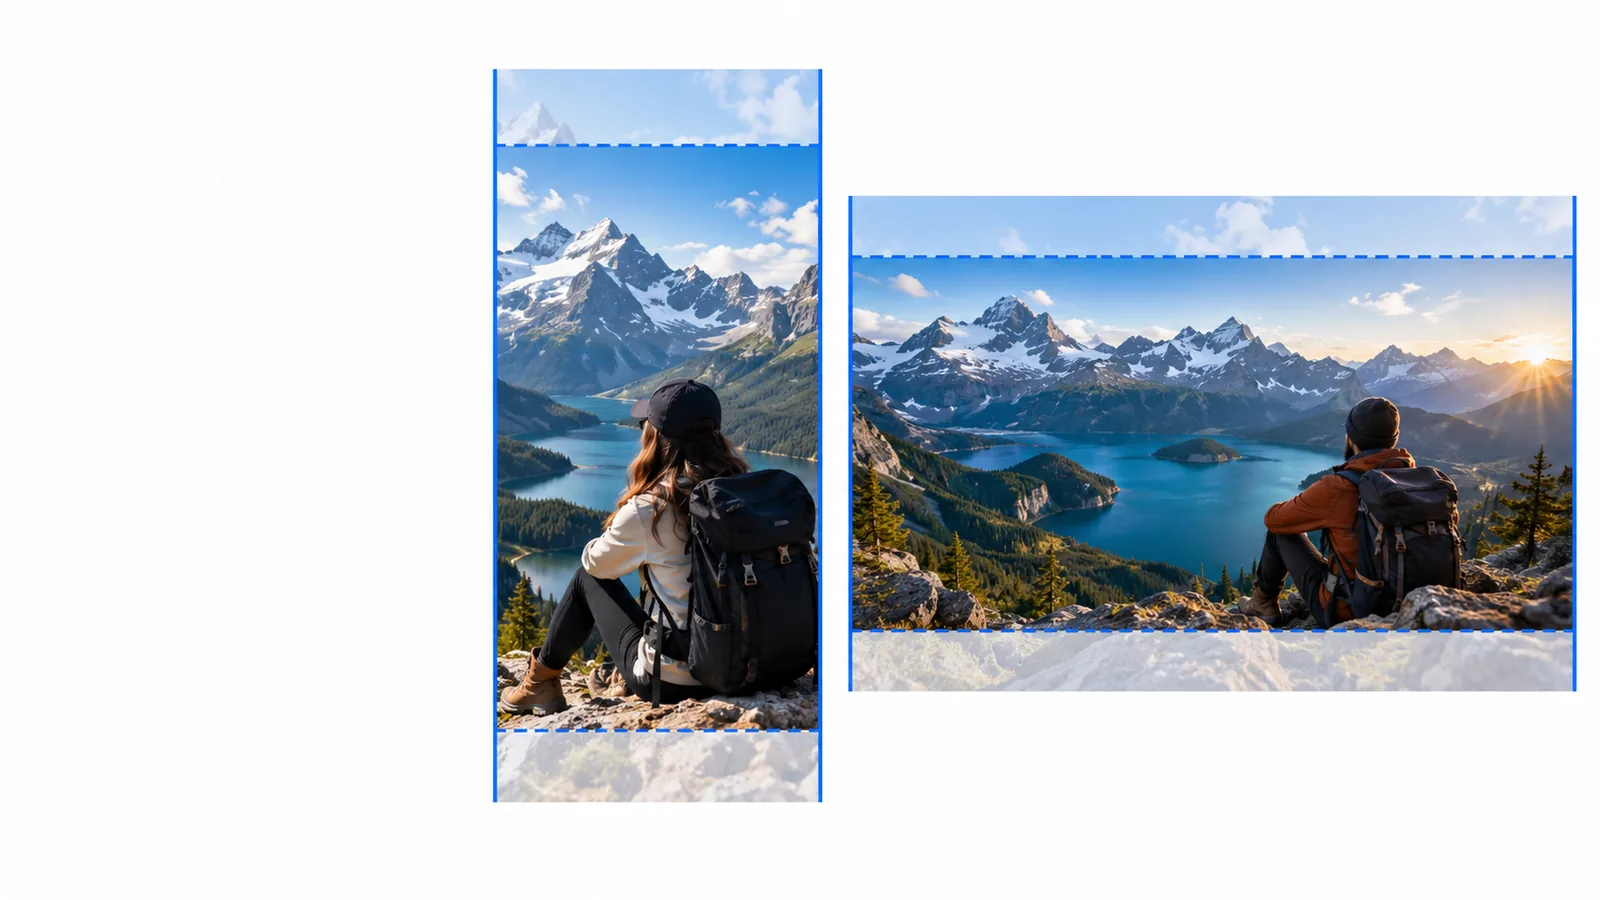
Video editing visual used to illustrate decisions across multiple moments

2

Choose an editor for changes inside the footage

An editing workflow matters when the middle needs attention: an awkward pause must go, separate moments need to sit together, or the order needs to change. Write down each keep-and-remove decision first. That makes it easier to spot a missing action or a jump that feels abrupt.

  • Input: footage with several useful moments
  • Decision: what to remove, retain, or reorder
  • Result to check: a coherent sequence

The three things only an editing workflow adds

Beyond a simple in-and-out trim, these decisions shape the story between the first and last frame.

  1. 1

    Remove a section from the middle

    Find the point where unwanted footage starts and where useful footage resumes. Keep a little context on either side, then watch the join for a clipped sentence or sudden movement.

  2. 2

    Arrange the moments you keep

    If the strongest moment comes later, consider placing it earlier. Check that the new order still makes sense to someone who has not seen the original recording.

  3. 3

    Review every transition

    Play across each join with sound on. A cut video sequence can look smooth in still frames yet lose a word, change audio levels, or skip a necessary step.

How to start

Begin with the outcome you want, not with every control an editor might offer.

Someone shortening an interview

Write down the answer that must remain and the pauses that can go. Mark approximate points before making any cut, so the speaker's meaning stays intact.

If only one uninterrupted answer is needed, a video trimmer provides a simpler path for selecting its start and end.

video trimmer

A creator assembling highlights

List the moments worth keeping in playback order. Decide whether each should stand alone or lead into the next one.

For several separate excerpts, How can I trim a video into clips? explains how to plan distinct clip boundaries.

How can I trim a video into clips?

Someone fixing a recording mistake

Note the last useful frame before the mistake and the first useful frame after it. Watch both sides together before settling on the cut.

For a mistake in the middle, How do I remove an unwanted part of a video? focuses on keeping the surrounding footage.

How do I remove an unwanted part of a video?

Limits to check

Check the footage and the available tool before relying on a particular edit or export.

A cut cannot restore missing context

Removing a pause can tighten a sentence, but it cannot supply an explanation that was never recorded. Watch a little before and after every planned boundary. If a subject enters halfway through a shot, cutting closer may make the result harder to follow.

  • Keep enough lead-in to establish the action
  • Listen for words that cross the proposed cut
  • Save the original recording before editing

Confirm the controls you actually need

An editor may offer different controls from a basic trimming tool. Before starting a long cut video project, check whether the tool you choose lets you remove an interior section, arrange the remaining pieces, and preview their joins. Do not assume every tool supports the same workflow.

  • Check interior-cut controls
  • Check sequence ordering
  • Preview sound as well as picture

Verify the result outside the edit

After exporting, play the saved file from beginning to end. Check its duration, the first and last frames, and sound around each join. Available file formats, size limits, and export options depend on the tool you use, so confirm them there before committing to a delivery format.

  • Play the saved file, not only the preview
  • Check every join
  • Confirm the destination's file requirements

Cut video editor FAQ

A trimmer is suited to keeping one continuous span between a start and end point. An editor is the better workflow to investigate when you need to remove a section inside the footage or arrange multiple kept moments.

Yes, if your chosen editing tool supports removing an interior section. Mark both ends of the mistake, remove that span, and preview the join to make sure the surrounding action or speech still makes sense.

Identify the moments you want to keep first, then set approximate boundaries for each one. Once they are in the intended order, refine the joins; context that seemed unnecessary on its own may help two clips connect.

Play through the join rather than inspecting only the frame where it occurs. Listen for interrupted words or changing background sound, and watch for movement that jumps unexpectedly between shots.

Open video tool
Open video tool