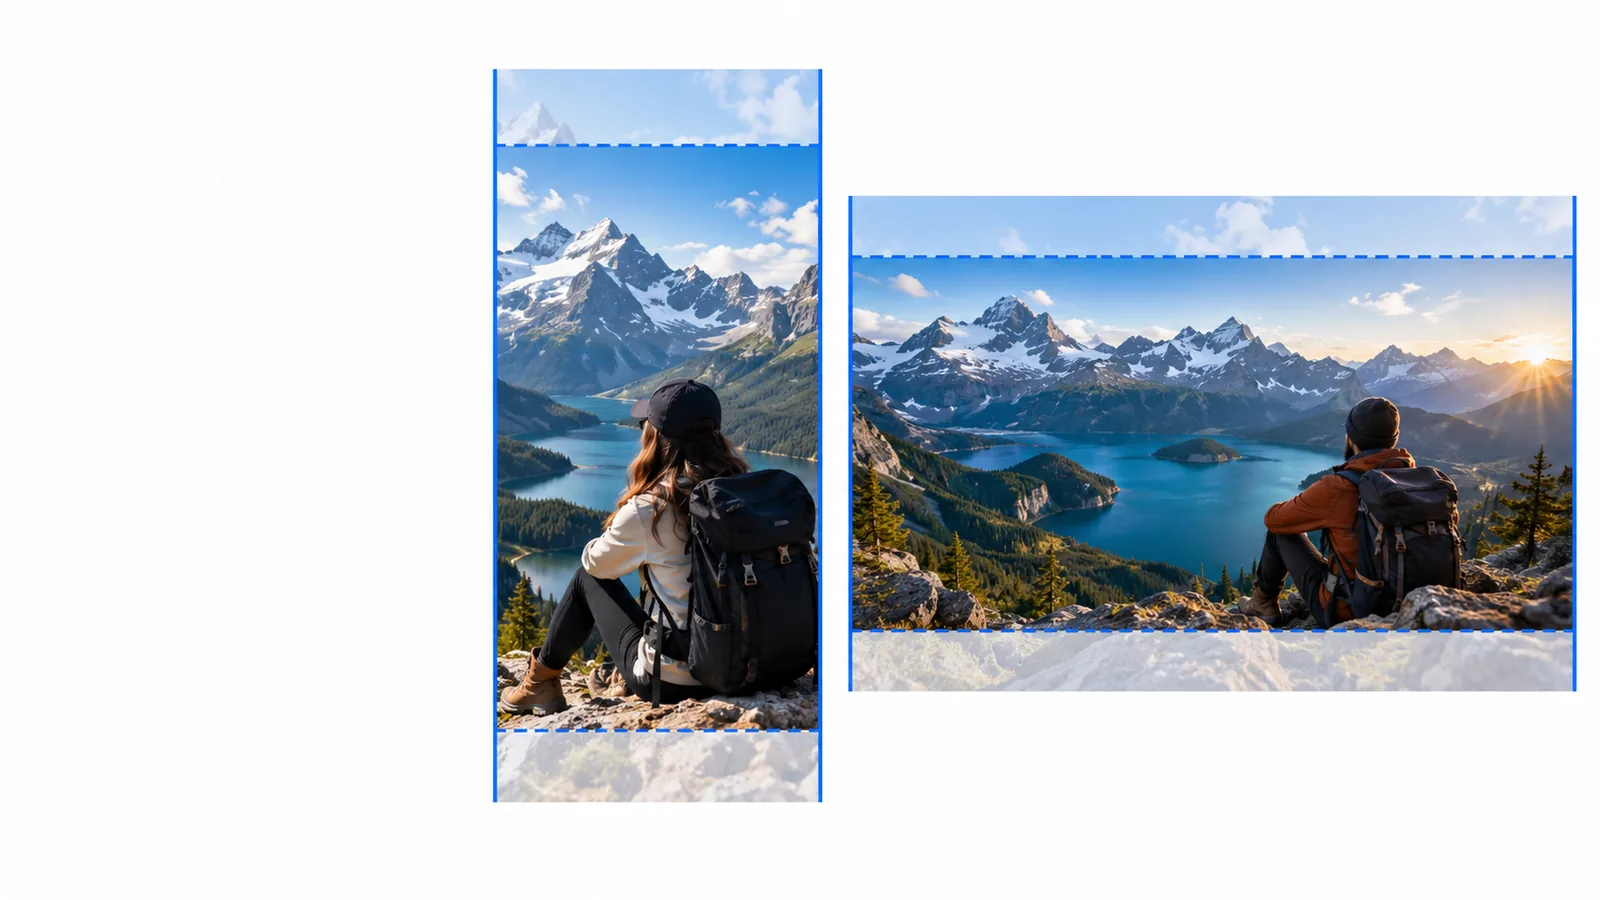

Video tutorial

How to cut video in Canva without losing the part you need

If you want to know how to cut video in Canva, first decide whether the unwanted footage is at an edge or in the middle. Those cases use different timeline actions, and checking the result before export matters as much as making the cut.

Opens a separate video site
Video editing workspace

Choose your timeline action

A cut at the edge changes a clip’s visible duration; removing a passage inside it requires two boundaries.

  1. 1

    Find the footage

    Open your Canva video design, select the video clip and play across the unwanted portion. Note where the material you want to keep begins and ends.

  2. 2

    Match the cut

    For an unwanted opening or ending, trim one edge. For an unwanted middle section, split before and after it so the section becomes its own piece.

  3. 3

    Review the join

    Play through the new beginning, ending or join. Watch for a clipped word, an abrupt sound change or a transition that now lands in the wrong place.

What to have ready

These checks make it easier to cut video deliberately rather than guessing at positions on a small timeline.

Required Optional
  • A Canva video design containing the clip you have permission to edit

    Required

    Select the actual video element, not a background graphic or text layer.

  • A clear keep-or-remove decision for each section of footage

    Required

    Write down approximate start and end points if the clip is long.

  • A way to listen to the clip while checking each cut

    Required

    Sound often reveals a rough join that looks acceptable in a still frame.

  • The original source video retained separately

    Optional

    Keeping a source copy makes it easier to restart if you change your edit.

  • A target destination for the finished video

    Optional

    Knowing where it will be viewed helps you judge pacing and framing.

The best instructions depend on where you are editing. These guides cover an online workflow, another editor and the iPhone’s built-in option.

Why the workflow uses a timeline

Canva grew from a design tool into a place to assemble video, so it helps to distinguish editing a clip from arranging a whole design.

  1. Canva launches

    Canva begins as a visual-design platform. A design remains the container for the pages and elements you work with when editing video there.

  2. Video editing expands

    Canva announces a video editor, bringing clip arrangement and timeline-based work into its broader design workflow.

  3. Visual Worksuite arrives

    Canva presents video alongside other visual formats. This is why a video project may contain text, graphics and multiple pages as well as footage.

  4. The interface evolves

    Canva introduces a redesigned experience. Controls can look different across devices or later interface updates, but the trim-versus-split decision stays useful.

path A

Choose this path when everything you want to remove is before the first good frame or after the last one.

Video clip selected for editing

Select the clip, not the page

Open the design and click the footage you want to shorten. If text, music or other elements sit over it, confirm the video itself is selected before adjusting its duration. Play near the point where the useful action begins or ends. Cutting the wrong element can change the page without changing the footage you intended to fix.

PATH A

Use an edge trim for an unwanted opening or ending, not for a passage surrounded by footage you want to keep.
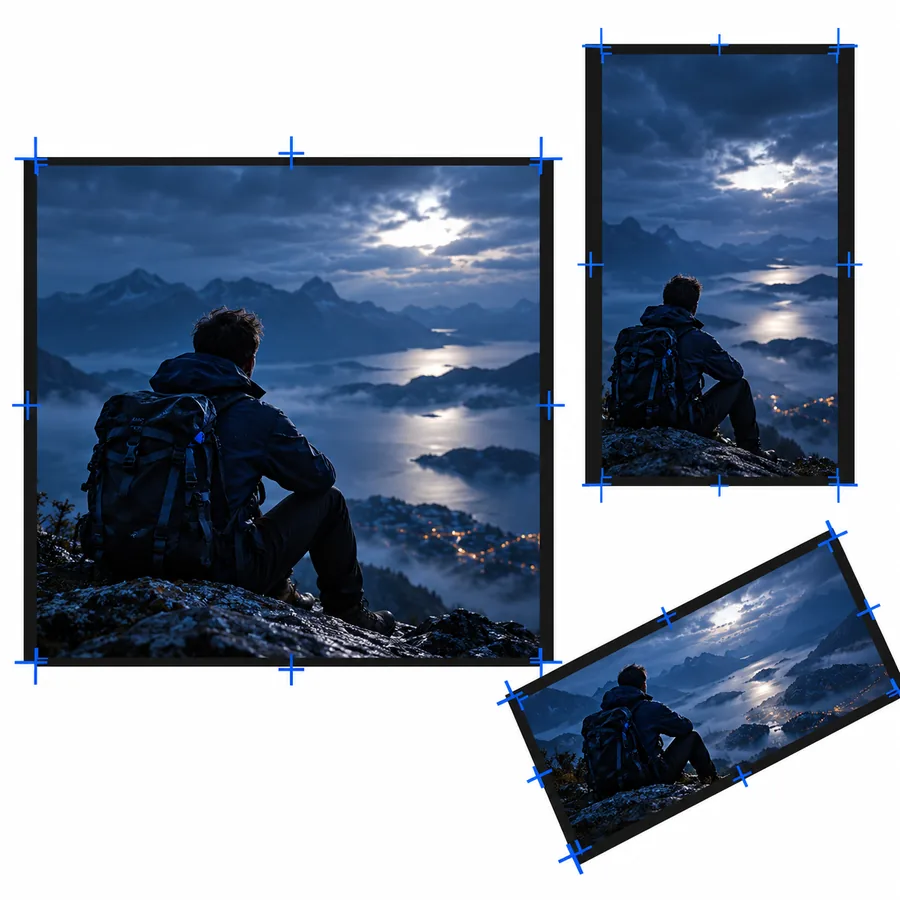

Timeline view used to adjust a video clip edge

Move the relevant edge

Find the clip’s trim control or edge handle in the Canva timeline. Drag the left edge inward to remove an opening, or the right edge inward to remove an ending. Move in small increments near speech or quick action, then replay a few seconds on either side of the chosen boundary. The goal is a clean start or finish, not merely a shorter duration.

PRECISION CHECK

Pause on the first and last kept frames so you do not cut video just before a word or movement resolves.

Preview of a shortened video segment

Check what the page now shows

After trimming, inspect the rest of the design. An overlay, caption or music track may still extend beyond the visible clip, and another page may start sooner than expected. Play the whole shortened segment before moving on. If you removed too much, adjust the boundary again rather than trying to conceal a missing moment with a transition.

KEEP THE SOURCE

Retain your original footage separately so you can revisit the edit if the intended opening changes.

path B

To remove a middle passage, make it a separate piece first. These limitations explain why a single edge trim will not do that job.

  • One trim cannot remove the middle

    Dragging a clip’s outer edge removes footage from that end; it does not reach an isolated mistake between two good passages.

    WorkaroundPlace one split immediately before the unwanted passage and another immediately after it. Select the isolated piece, remove it and inspect the new join.

  • A split does not erase footage

    Splitting marks a boundary. The unwanted section remains in the design until you select and remove the correct segment.

    WorkaroundPlay each newly separated piece before deleting one, especially if the cut points are close together.

  • Video cuts do not automatically repair audio

    Music, voiceover or other separately placed audio can continue across a removed passage or stop at an awkward moment.

    WorkaroundListen through the join and adjust any independent audio track to match the kept footage.

  • A cut cannot restore missing action

    Removing a pause may make the next shot jump noticeably in position or time.

    WorkaroundKeep a little context on either side, use an appropriate transition if it helps, or choose a different take.

final check

Review the export as well as the timeline: the downloaded file is what your audience will actually watch.

Listen across every spoken cut

Play from several seconds before each join to several seconds after it. A sentence can look continuous while losing its first consonant, final word or natural pause.

  • Check that captions still match the spoken words.
  • Listen for a sudden change in room tone or volume.
  • Confirm the opening starts with enough context.

Keep the action understandable

When you cut video showing a process, verify that viewers can still follow what changed between shots. A brief pause may be more useful than a jump that hides an essential step.

  • Watch the frame immediately before and after each join.
  • Keep any instructions visible long enough to read.
  • Check that overlays point to the correct action.

Inspect the downloaded version

Preview the complete design, download the video using the options available in your Canva interface, then play that file outside the editor. Check its beginning, joins and ending at a viewing size similar to your intended destination.

  • Verify that no extra blank page was included.
  • Check that text remains within the visible frame.
  • Make sure the final shot does not end mid-action.

Take the next step with your footage

Ready to work on another video?

Use the Canva paths above for your current design. If you want to explore a separate video workspace, Cutvideo can take you to its partner site; check the options there before starting a new project.

Explore video options
  • Keep your original footage
  • Choose trim or split based on where the unwanted part sits
  • Watch the downloaded result before sharing

tutorial FAQ

Select the video clip and move its starting trim boundary forward until the first frame you want to keep is at the edge. Play the opening afterward to make sure a word or action has not been clipped.

Split the clip at the start and end of the unwanted section, then select and remove that isolated piece. Play across the resulting join and check any separate audio or captions.

Trimming shortens a clip from one of its outer edges. Splitting creates a boundary inside a clip, which lets you isolate a middle section before removing or rearranging it.

The sound may be on an independent music or voiceover track rather than embedded in the clip you removed. Inspect the audio layers and listen across the join before downloading.

Yes. Play the downloaded file from start to finish to verify its timing, sound, captions and final frame. That catches issues you might miss while concentrating on a single timeline edit.

Open video tool
Open video tool